

Updated March 12, 2026
TL;DR: Deploying email tracking across a sales team typically requires a structured rollout, not a settings toggle. Use a Custom Tracking Domain (CNAME) to isolate your reputation from shared tracking pixels that pool you with spammers. Set up role-based access so junior reps can't damage the entire organization's sender reputation. Ramp daily sends from 10 to 30 per inbox over four weeks while monitoring bounce rate (keep under 2%) and reply rate. Open rates are inflated by Apple Mail Privacy Protection, so build your reporting around replies and clicks instead.
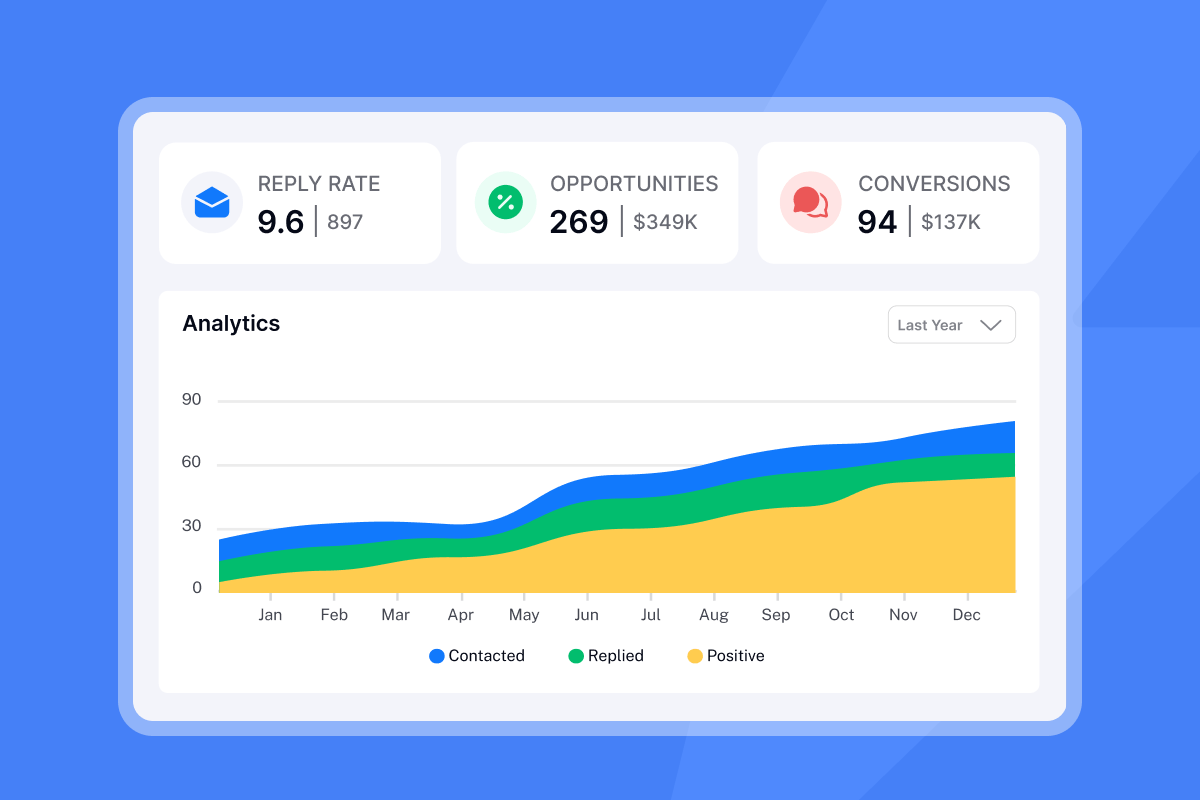
Proper email tracking setup determines whether you maintain healthy reply rates or damage your sender reputation. Average cold email reply rates sit around 5%, with good campaigns achieving 8-10%. The problem isn't the tracking itself, it's the setup. Shared tracking pixels pool your reputation with every other user on the platform. When spam filters see the same tracking domain in thousands of emails per hour across hundreds of senders, your legitimate cold email gets flagged alongside the noise.
This guide gives you the exact 30-day checklist to deploy email tracking across your team safely, covering custom domain configuration, team governance, and a ramp-up schedule that protects your domain reputation while your team builds pipeline.
The 30-day rollout roadmap at a glance
Phase | Days | Focus |
|---|---|---|
Phase 1 | 1-7 | DNS authentication and custom tracking domain setup |
Phase 2 | 8-14 | Tracking policy decisions and compliance configuration |
Phase 3 | 15-21 | Team workspace setup, role assignment, and rep training |
Phase 4 | 22-30 | Phased send ramp-up and performance monitoring |
Phase 1: Technical setup and custom tracking domains (Days 1-7)
The single most important decision in this entire project is whether you use a shared tracking domain or your own. We've seen this choice make or break team rollouts. Get this wrong and the rest of the setup doesn't matter.
Why shared pixels are a deliverability risk
When you use a platform's default tracking domain, your emails share that domain's reputation with every other sender on the platform. According to MailReach, if a bad actor uses the same shared tracking domain in a spam campaign, your reputation suffers because your email contains the same tracking domain as the spammer's. Some spam filters flag emails containing tracking pixels tied to known third-party tracking services, as documented by Glockapps.
A Custom Tracking Domain (CTD) is a branded subdomain (like inst.yourdomain.com) that isolates your tracking reputation entirely. A CTD separates your sending reputation from any other platform users, so you don't get penalized for their behavior. This is non-negotiable for team deployments.
Step-by-step: Setting up your CNAME in Instantly
Before touching Instantly's settings, you need access to your domain's DNS provider (Cloudflare, GoDaddy, Namecheap, or Google Domains). Per the Instantly custom tracking domain guide, here are the exact values to enter:
- Log into your DNS provider and navigate to the DNS records section.
- Create a new CNAME record with these exact values:
- Host/Name:
inst(this createsinst.yourdomain.com) - Value/Points to:
prox.itrackly.com
- Host/Name:
- Set TTL: Use Auto or your DNS provider's default. As Cloudflare explains, TTL controls how long the record stays cached by DNS resolvers before they check for updates. The default value works well for initial setup.
- If you use Cloudflare, make sure the Proxy status is set to "DNS-only" (gray cloud, not orange). The Instantly Cloudflare guide covers this specifically because the orange proxy breaks CNAME verification.
- Return to Instantly settings, enter
inst.yourdomain.com, and click "Check Status." You should see "CNAME Verified" and "SSL Verified" once propagation completes.
DNS propagation typically takes 24-72 hours. Use a tool like dnschecker.org to confirm the CNAME record resolves to prox.itrackly.com before moving forward. As Instantly's CTD overview notes, a correct setup means the Canonical Name field in a DNS lookup shows prox.itrackly.com.
Also confirm that your authentication records are complete before sending a single email. The Instantly SPF/DKIM/DMARC setup guide covers the full process for major domain providers. A custom tracking domain without proper SPF/DKIM/DMARC is still a significant deliverability risk, as covered in the Google Workspace-specific DMARC setup guide.
Phase 1 checklist:
- Secondary domains: Purchased (not your primary corporate domain)
- CNAME record: Created with
instandprox.itrackly.com - Cloudflare proxy: Set to DNS-only mode (if applicable)
- Verification: CNAME and SSL verified in Instantly settings
- Authentication: SPF, DKIM, and DMARC records confirmed for all sending domains
Phase 2: Defining tracking policies and privacy compliance (Days 8-14)
Once your custom tracking domain is live, the next decision is what you actually track and how much weight you give each signal. Getting this wrong produces reporting your CFO will question and your reps will misread.
The open rate problem in 2026
Open rates are no longer a reliable primary metric. According to Omeda's analysis, open rates have nearly doubled since Apple rolled out Mail Privacy Protection (MPP), because MPP pre-fetches tracking pixels for every Apple Mail user regardless of whether they actually opened the email. As Paubox documents, open rates are now artificially inflated by large margins. Litmus data from January 2025 shows Apple accounts for 49.29% of all email opens, making it the dominant email client. That means roughly half your reported "opens" may be MPP-generated noise.
Open tracking still has a practical use case: A/B testing subject lines to compare relative performance between variants sent to the same list. For anything else, build your reporting around reply rate and click rate.
What to track, and what to tune out
Tracking metrics matrix:
Metric | Reliability | Actionable insight |
|---|---|---|
Open rate | Low (inflated by Apple MPP) | Use only for relative A/B subject line tests |
Click rate | Medium (bot clicks possible) | Good intent signal; filter rapid automated clicks |
Reply rate | High | Primary measure of campaign effectiveness |
Bounce rate | High | Direct indicator of list quality and domain health |
Spam complaint rate | High | Domain health alert (keep under 0.1%) |
For click tracking, watch for bot behavior. Braze's guide on bot clicks explains that security scanners from vendors like Proofpoint or Microsoft SafeLinks click all links in an email within seconds of delivery. Mailmodo's bot click documentation confirms that clicks firing within milliseconds of delivery or clicking every link in an email systematically are near-certain bot signals, not human intent.
Compliance configuration
We require a working unsubscribe link in every campaign, both for legal compliance under GDPR and CAN-SPAM and for deliverability, because recipients who can't find an opt-out click spam instead. Instantly automatically includes an unsubscribe link in every campaign email and it cannot be removed, as stated in the Instantly sending policy. The Instantly unsubscribe setup guide lets you customize the overlay text so it fits your brand voice.
Phase 2 checklist:
- Open rate positioning: Set as "A/B testing reference only," not primary KPI
- Primary metrics: Reply rate and bounce rate confirmed as main performance signals
- Spam threshold: Complaint rate threshold set at 0.1% (pause trigger)
- Unsubscribe link: Text reviewed and confirmed in settings
- Link security: All tracking links confirmed as HTTPS

Phase 3: Team onboarding and workspace configuration (Days 15-21)
Technical setup without governance is how a single rep can damage your domain reputation in 48 hours. This phase locks in the guardrails before anyone touches a live campaign.
Setting up the workspace and roles
Per the Instantly team workspace guide, Instantly uses three role tiers:
- Owner: Full control including billing, domain settings, and account deletion.
- Admin: Manages team, billing, and settings but cannot delete the workspace.
- Editor: Manages campaigns and sequences but has no access to team management or billing.
Assign Owner access to one person, typically the RevOps lead or IT admin. Sales Ops and team leads should hold Admin access. Reps should receive Editor access only. This prevents anyone from modifying domain settings, tracking configurations, or billing during live campaigns.
"I appreciate Instantly for its intelligent handling of domain and mailbox rotation as well as provider matching, which is critical for ensuring that my emails land directly in the primary inbox instead of getting caught in spam filters. Additionally, the initial setup of Instantly was really easy, which streamlined the transition to this tool and minimized downtime for my team." - Richard E. on G2
One of the most common rollout failures is leaving every rep to configure their own campaign settings independently. Create shared sequence templates and send window defaults at the Admin level before onboarding the first rep, so every campaign starts from the same baseline.
The 30-minute rep training session
Run one structured walkthrough covering three things:
- Reading the Analytics tab correctly: Show reps which metrics to monitor (reply rate) and which to treat with skepticism (open rate). For bounce rate, direct reps to the deliverability or campaign-level views, where it actually appears, not the Analytics tab. Pull the Instantly demo walkthrough for a co-founder-led product overview if reps need broader context on the platform.
- What triggers a pause: If bounce rate passes 2% or a spam complaint appears, reps should flag it immediately rather than continuing to send. Build this into your team's standup check-in.
- Using templates, not going rogue: Every sequence should start from a pre-approved template. Walk through the cold email campaign setup video to show reps how a properly structured campaign flows.
Phase 3 checklist:
- Roles: Owner, Admin, and Editor roles assigned to all team members
- Templates: Shared sequence templates created and locked at Admin level
- Send windows: Set at campaign level (not left to individual reps)
- Training: 30-minute rep training session completed
- CRM handoff: Reply-to-SQL handoff process documented
Phase 4: The ramp-up and initial monitoring period (Days 22-30)
Even with a verified custom tracking domain, you can't send 300 emails per inbox on day one. Email providers watch volume patterns closely, and a sudden spike from a new sender is a spam signal regardless of your authentication setup.
The ramp schedule for new inboxes
Per Instantly's cold email strategy documentation and the 2026 cold email benchmark report, start new inboxes at conservative volumes and increase gradually. A practical ramp for secondary domains used in cold outreach:
- Days 22-25: Progress through four daily steps — 10, 12, 15, then 18 cold emails per inbox per day, focused on your highest-quality verified contacts.
- Days 25-27: Continue ramping to 20, then 22, then 24, then 28 cold emails per inbox per day if bounce rate stays at or below 1%.
- Days 28-30: Increase to 28-30 cold emails per inbox per day while warmup continues in parallel.
New domains should start at 10-20 emails per day and increase by 20-50 emails per week. Per Instantly's recommended sending limits, cap individual inboxes at 30 cold emails per day during rollout and hold that ceiling while your domain reputation develops.
"I use Instantly for the AI reply agent and finding leads. It saves a lot of time by automatically replying to all of my campaigns on autopilot mode. I especially like the email warm-up tool. This tool automatically mimics human behavior and runs in the background to build a sender reputation for multiple new email accounts, ensuring emails land in the primary inbox rather than spam." - lucky b. on G2
What to monitor during ramp-up
Check these three metrics daily during the ramp period:
- Bounce rate: Keep it under 2%, aiming for well below that. Any spike above 2% means your list needs re-verification before you send another batch.
- Reply rate: This is your primary engagement signal. Low reply rates combined with high bounce rates indicate both a list quality problem and a copy problem.
- Spam complaint rate: This must stay under 0.1%. One complaint per 1,000 emails sent is already a warning sign.
Run a brief weekly standup to review which sequence variants generate replies versus bounce spikes. The Instantly deliverability guide video covers what to look for in health monitoring and when to pause. Adjust templates based on reply data, not open data.
Phase 4 checklist:
- Send cap: Daily send volume capped at 30 cold emails per inbox
- Bounce monitoring: Bounce rate monitored daily (pause trigger: 2%)
- Spam monitoring: Spam complaint rate tracked (pause trigger: 0.1%)
- Review cadence: Weekly standup reviewing reply rate per template variant
- List hygiene: Re-verification triggered if bounce rate exceeds 1.5%
Common implementation pitfalls that kill deliverability
Getting through the four phases doesn't guarantee a clean rollout. These are the mistakes teams make even after following the setup steps.
Using the primary corporate domain for cold outreach: Your @yourcompany.com domain handles transactional emails, partnership communications, and customer support. One poorly-received cold campaign can blacklist it. Mailforge's secondary domain research and the Instantly secondary domains strategy guide both make the same point: secondary domains exist to absorb the reputation risk of cold outreach while your primary domain stays clean. If your primary is yourcompany.com, common secondary domain patterns include getyourcompany.com or yourcompany.co.
Treating every click as human intent: Security scanners click every link in an email within milliseconds of delivery. If your reporting shows 100% click rates across multiple recipients on the same send, that's scanner activity, not a pipeline signal. Interspire's analysis of automated email clicks confirms that bots routinely click all links sequentially to test for threats. Filter clicks that fire in under one second from delivery and clicks on every link in the same email before drawing any conclusions about contact interest.
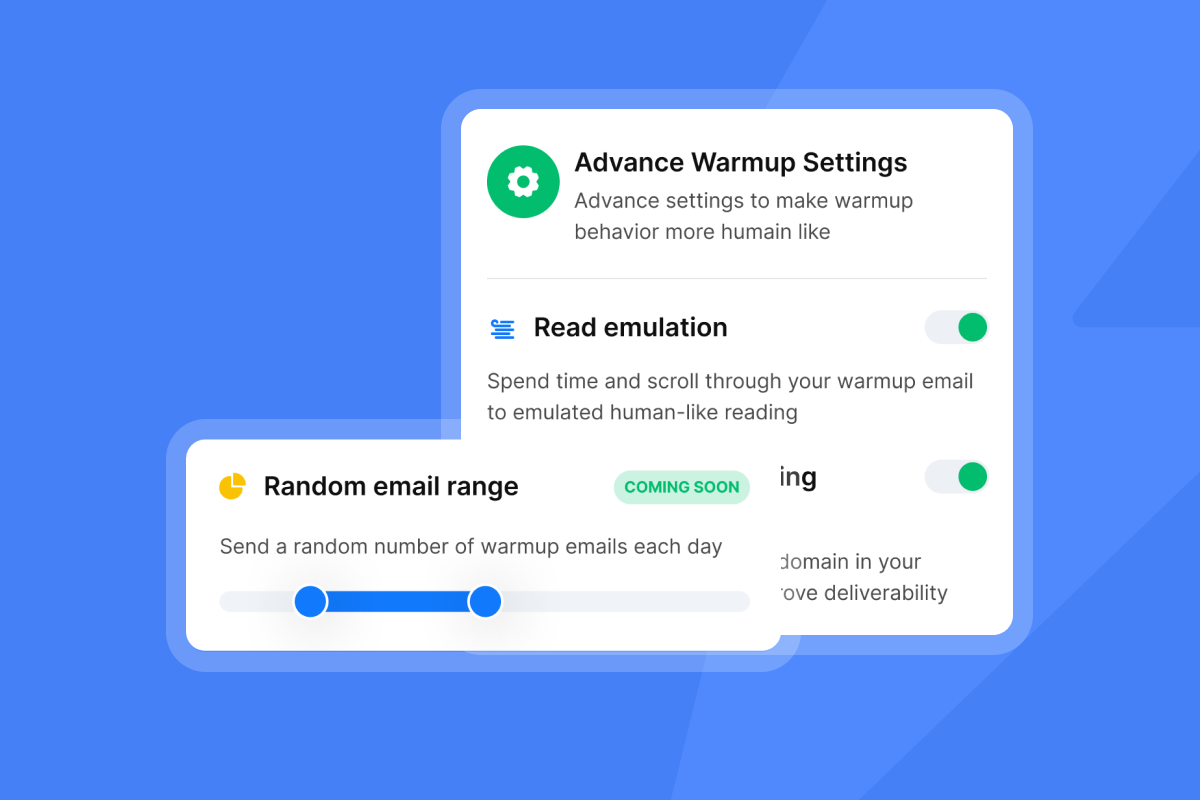
Skipping warmup for the tracking subdomain itself: Your custom tracking subdomain (inst.yourdomain.com) builds its own reputation as a URL. Send too many emails containing it too quickly, and some filters will flag the subdomain directly. The Instantly warmup setup video walks through how warmup works at the account level. Keep your ramp conservative to give the subdomain time to establish clean history alongside your inbox reputation.
"I really appreciate how Instantly simplifies both lead generation and cold email outreach... my initial setup experience with Instantly was smooth and hassle-free, as it didn't take much time to get everything up and running." - Mohammad A. on G2
Rolling out to all reps simultaneously: If you have 12 reps and all 12 start sending from new inboxes on Day 22, you're generating a large volume spike across a domain family with no history. Roll out in smaller cohorts during the ramp phase so you can identify any inbox-level issues before they scale across the whole team.
Deploy tracking the right way
Tracking implementation is a systems project. Done correctly, it gives you auditable data on list quality, rep activity, and campaign performance that withstands any CFO or CRM review. Done wrong, it takes down your domain and your monthly targets with it.
We built Instantly to make the technical parts straightforward. The CTD setup wizard walks you through CNAME verification in minutes, unlimited sending accounts let you roll out to 15 reps without per-seat pricing friction, and built-in warmup runs across all accounts automatically. The Instantly AI demo walkthrough shows the full platform setup from a co-founder perspective. If you want the technical setup handled entirely for you, the Instantly Done-For-You email setup service covers domain configuration, authentication, and warmup as a managed service.
Ready to deploy a safe, scalable tracking system your team will actually use? Try Instantly free and follow the 30-day roadmap above for your first campaign rollout.
Frequently asked questions about email tracking setup
Does email tracking hurt deliverability?
It can, specifically if you use a shared default tracking domain. Setting up a Custom Tracking Domain with your own CNAME record isolates your tracking reputation from other platform users and removes the shared-domain risk.
Should I track open rates in 2026?
Open rates are useful for A/B testing subject lines on a relative basis, but they're not a reliable standalone performance metric. Apple Mail nearly doubled open rates by pre-loading tracking pixels for all Apple Mail users, so use reply rate as your primary signal instead.
What is the exact CNAME value for Instantly's custom tracking domain?
The Host/Name is inst (creating inst.yourdomain.com) and the Value/Points to is prox.itrackly.com. Per the Instantly help documentation, propagation takes 24-72 hours and you'll see "CNAME Verified" and "SSL Verified" in settings once it's complete.
How many emails per inbox per day is safe during ramp-up?
Start at 10-15 per inbox per day for the first few days, increase to 20 by mid-ramp, and hold at 30 cold emails per inbox per day as your ceiling during rollout, with an additional 10 warmup emails running in parallel. Keep to this ramp while your domain and tracking subdomain build clean reputation history.
What role should reps have in Instantly during rollout?
Reps should hold the Editor role, which gives them access to campaigns and sequences but blocks access to team management and billing settings. Admins handle domain settings and team configuration, which prevents reps from modifying critical deliverability infrastructure during live campaigns.
How do I tell if a link click is from a bot or a human?
Clicks that fire within milliseconds of delivery or register across every link in the same email simultaneously are almost certainly security scanner activity. Mailjet's guide on email bot clicks explains that bots click all links systematically to test for threats, while human clicks spread out over time and focus on one or two relevant links.
Key terms glossary
Custom Tracking Domain (CTD): A branded subdomain (such as inst.yourdomain.com) created specifically for tracking opens and clicks. It isolates your tracking reputation from other platform users and prevents shared-domain spam flags.
CNAME record: A DNS record that maps an alias domain name to a canonical (real) domain name. As Cloudflare's CNAME documentation explains, CNAME records always point to a domain, never to an IP address directly.
Tracking pixel: A 1x1 invisible image embedded in email HTML. When an email client loads the image, it sends a signal to the tracking server recording an "open." Glockapps documents how pixels work and why privacy protections like Apple MPP affect their reliability.
DNS propagation: The time it takes for a new DNS record to spread across global DNS servers so every mail system can read it correctly. CNAME records typically propagate within 24-72 hours.
Sender reputation: A score assigned to your sending domain and IP by email providers based on engagement signals including replies, bounces, spam complaints, and unsubscribes. A low sender reputation results in spam folder placement regardless of email content.
Throughput: The total volume of emails your infrastructure can send in a given period without triggering spam flags. Throughput is a function of domain age, number of inboxes, warmup progress, and list quality.


